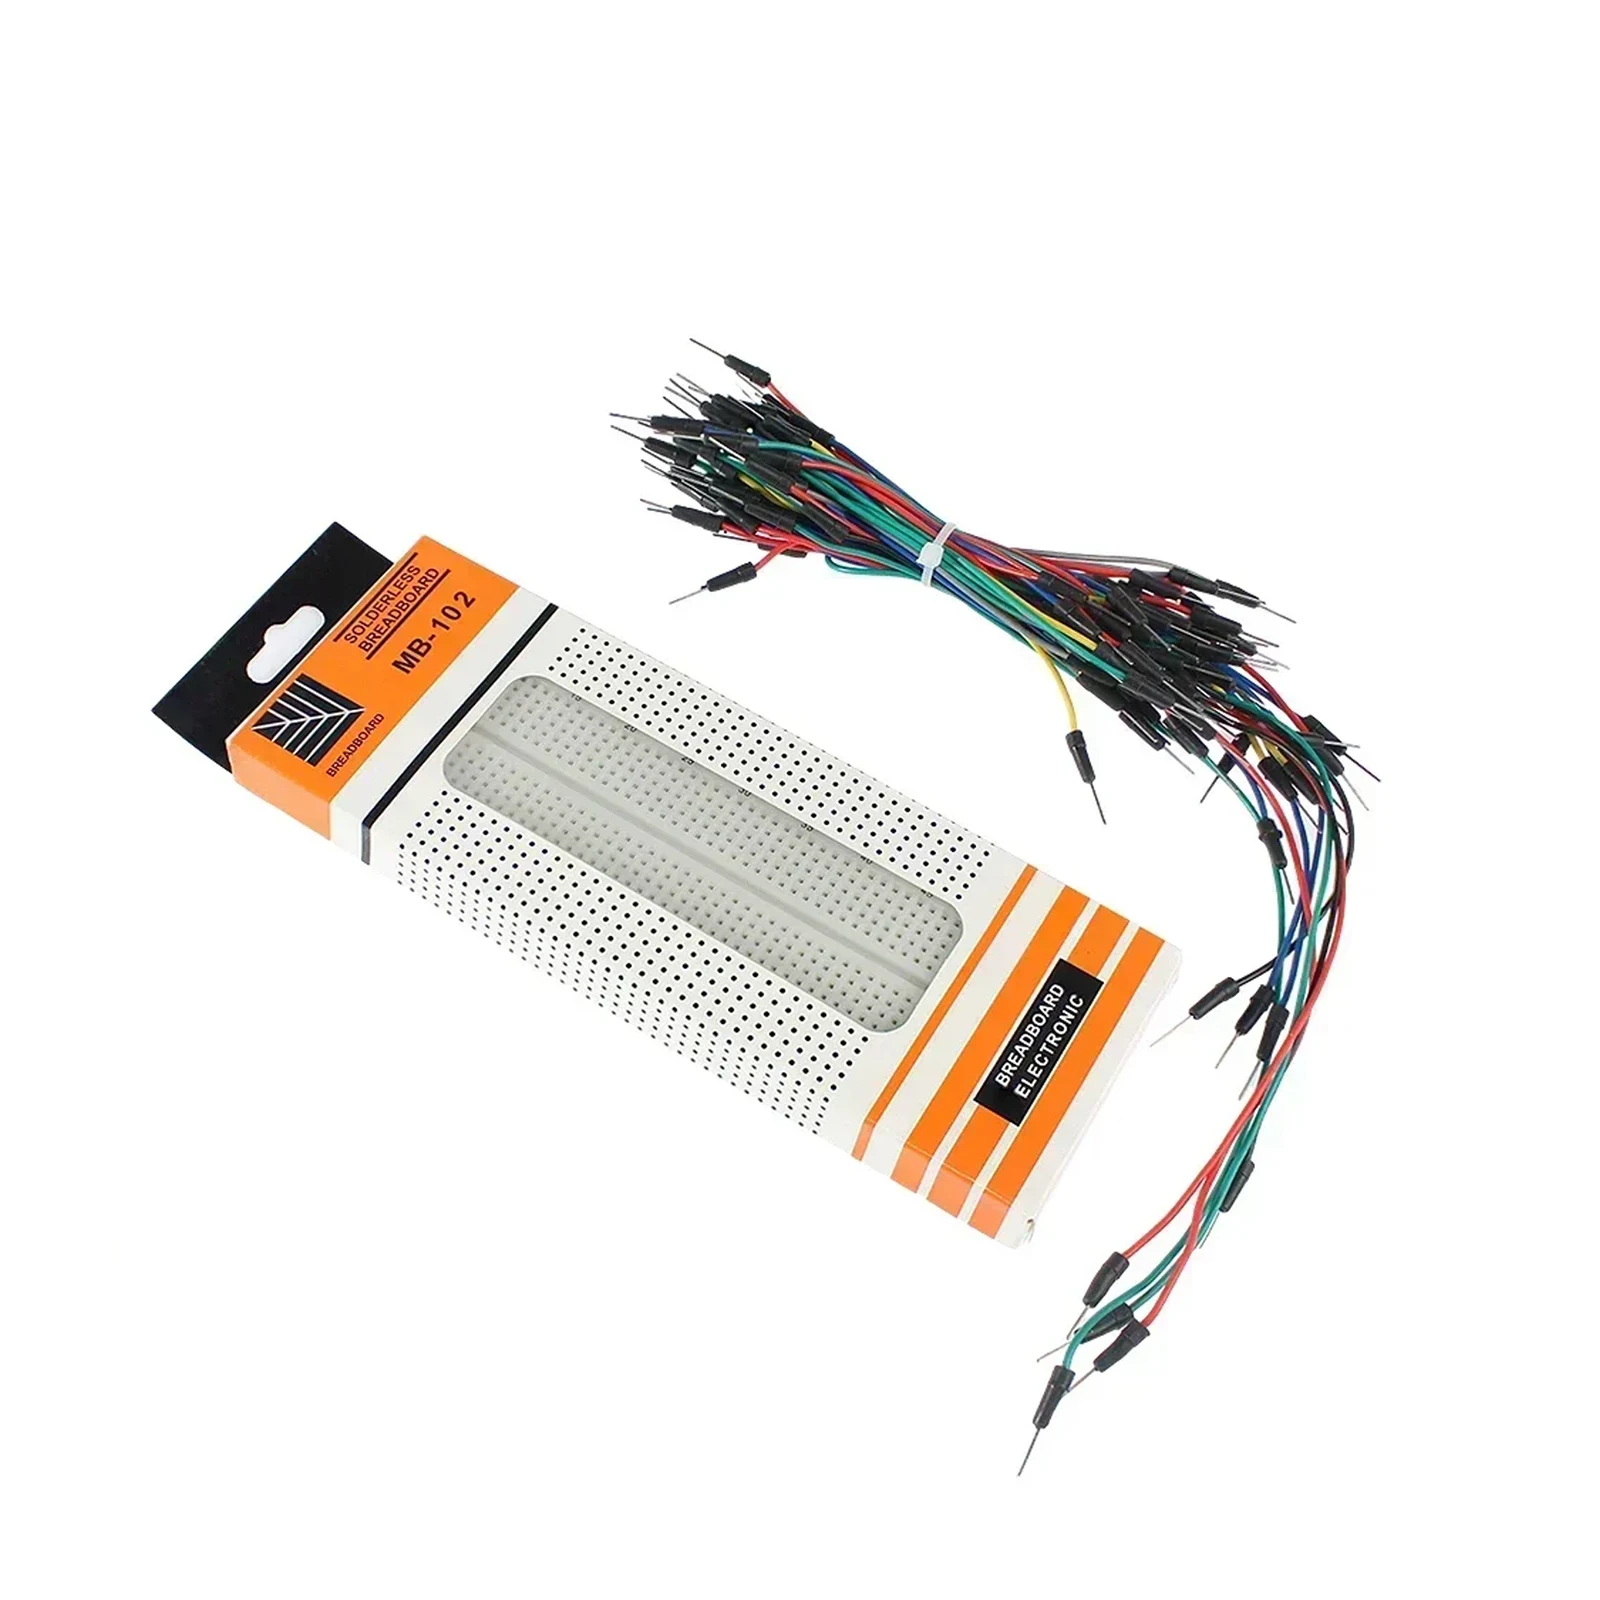
Solderless Breadboard Kit 830 Point 400 Point MB-102 HW-131 Power Module 3.3V 5V 65PCS Jumper Wire Set for Arduino Raspberry Pi


Solderless Breadboard Kit 830 Point 400 Point MB-102 HW-131 Power Module 3.3V 5V 65PCS Jumper Wire Set for Arduino Raspberry Pi
HW-131 Breadboard Kit 830 Point 400 Point with Power Module 3.3V/5V 65PCS Jumper Wires Solderless Prototype Board for Arduino DIY
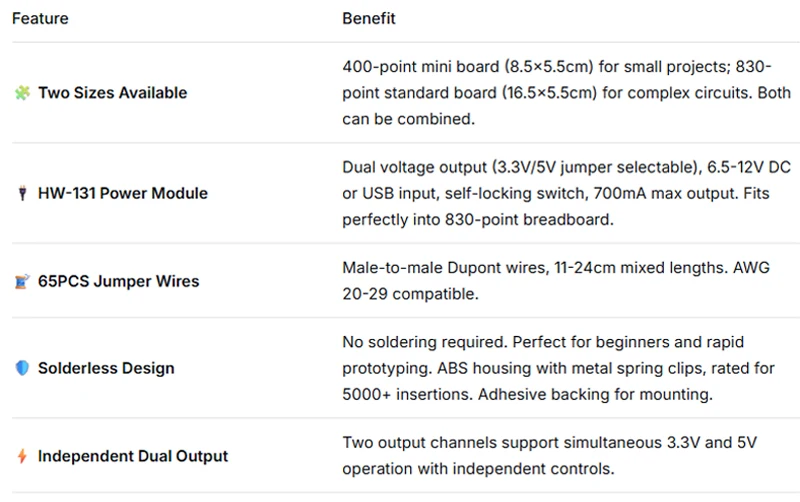
Key Features & Benefits
Product Description
Ready to start your Arduino or ESP32 electronics experiments? This HW-131 breadboard kit provides everything you need in one package.
Kit Includes:
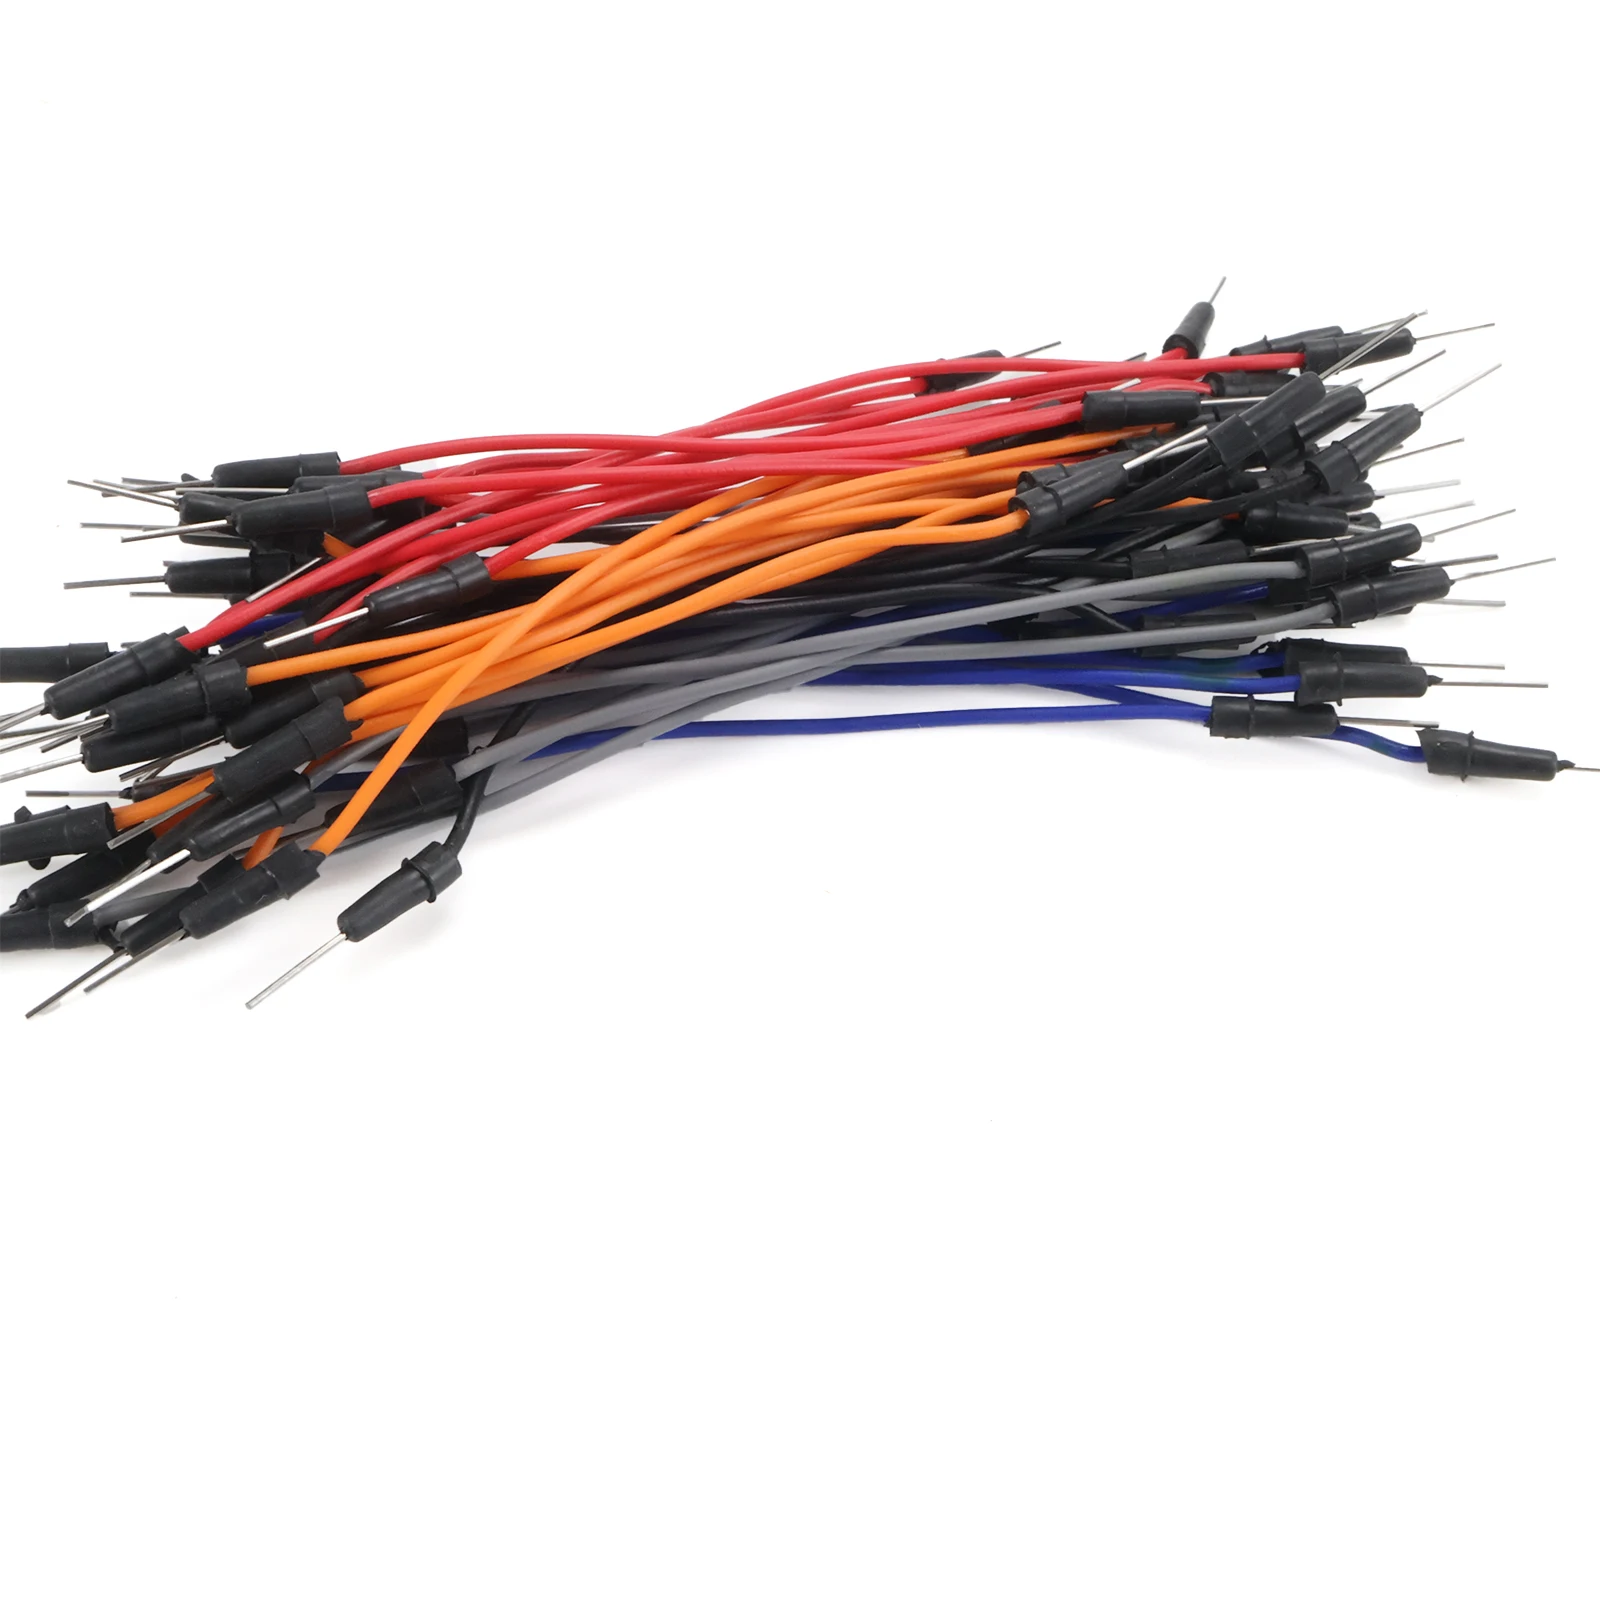
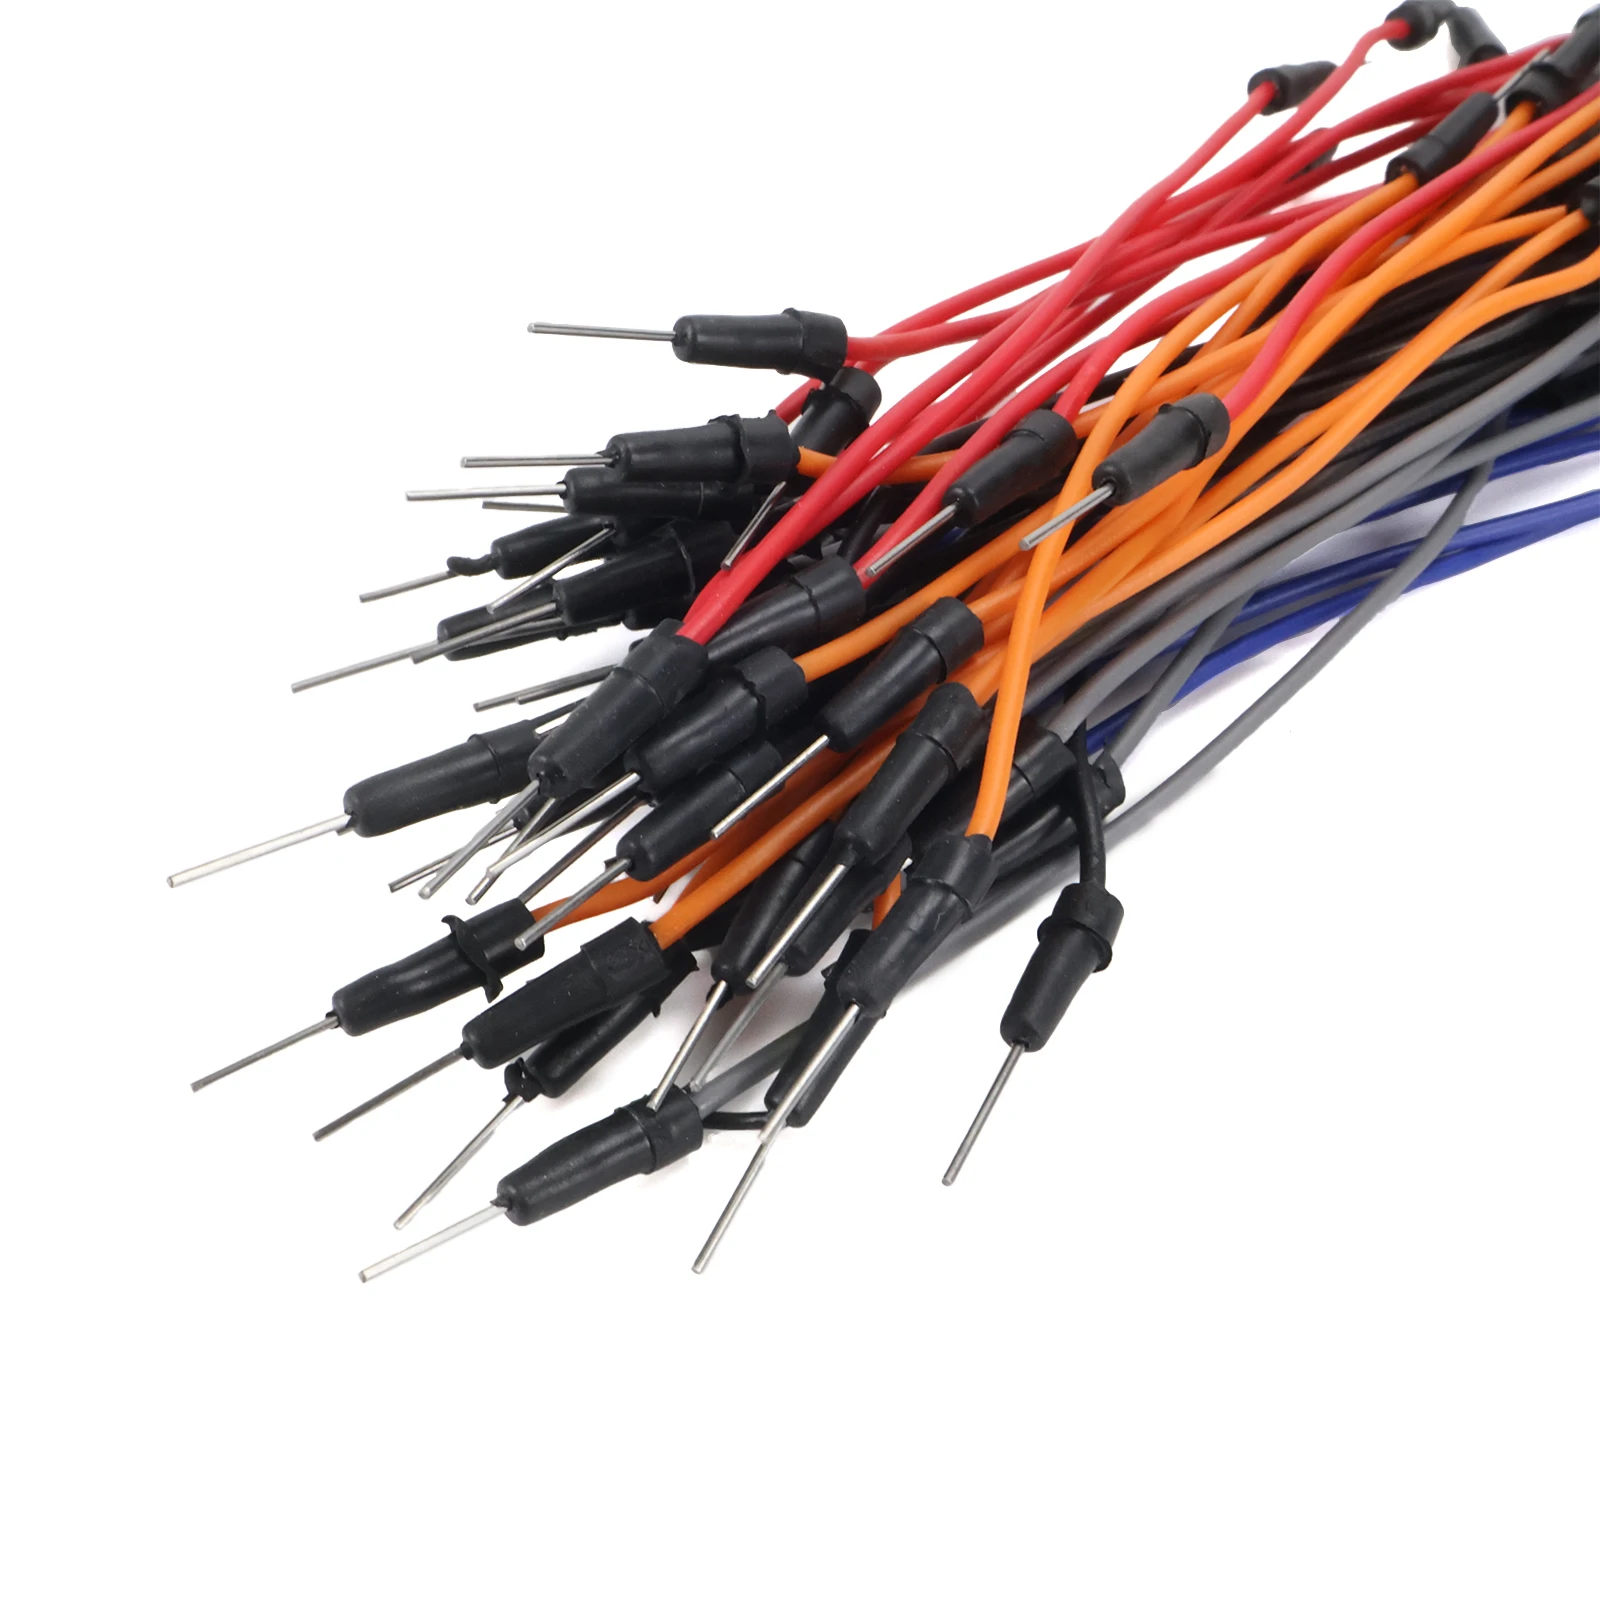
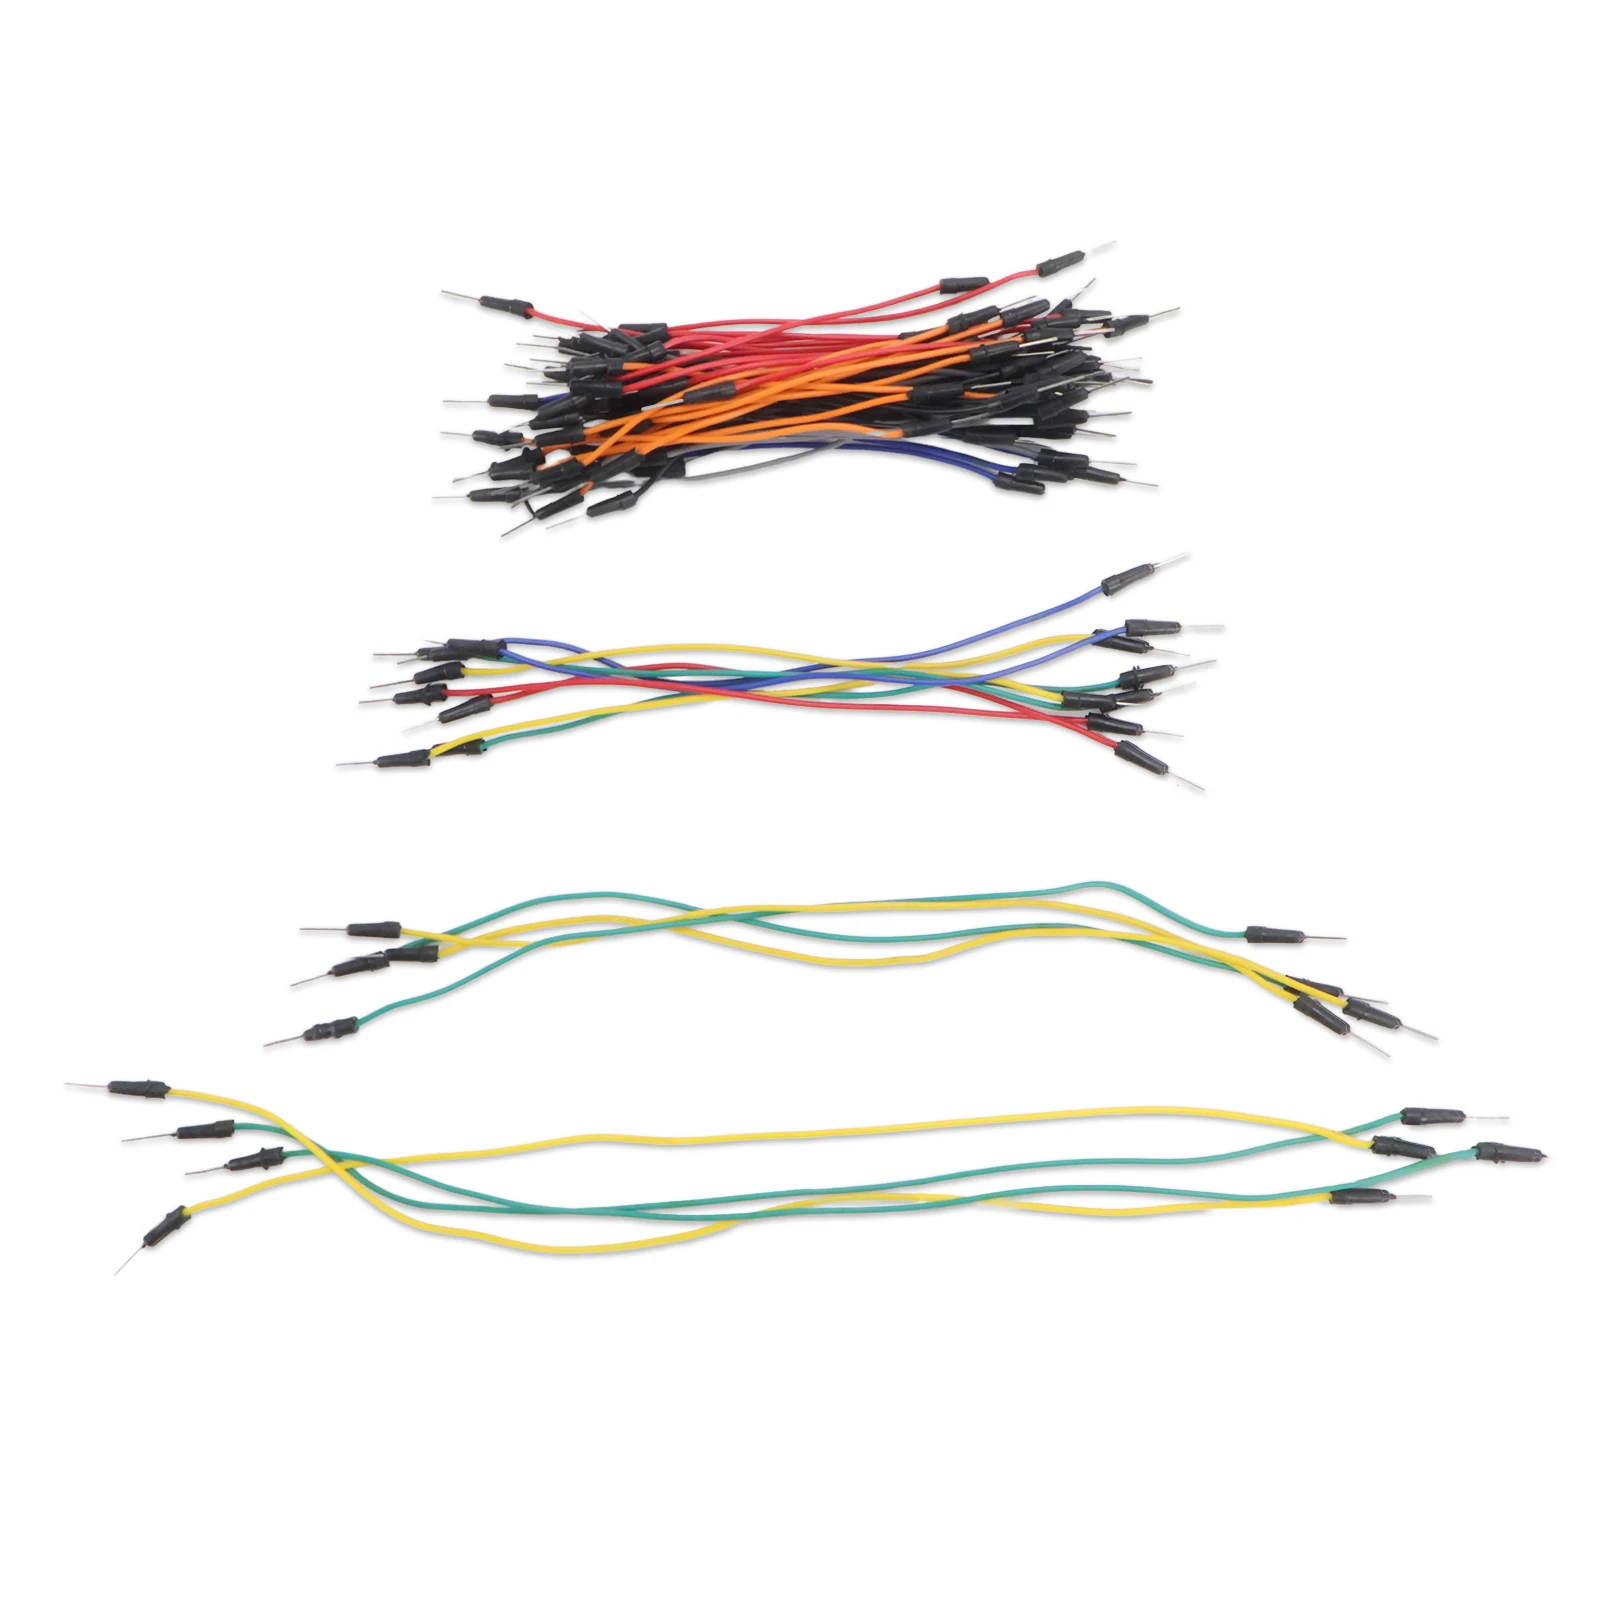
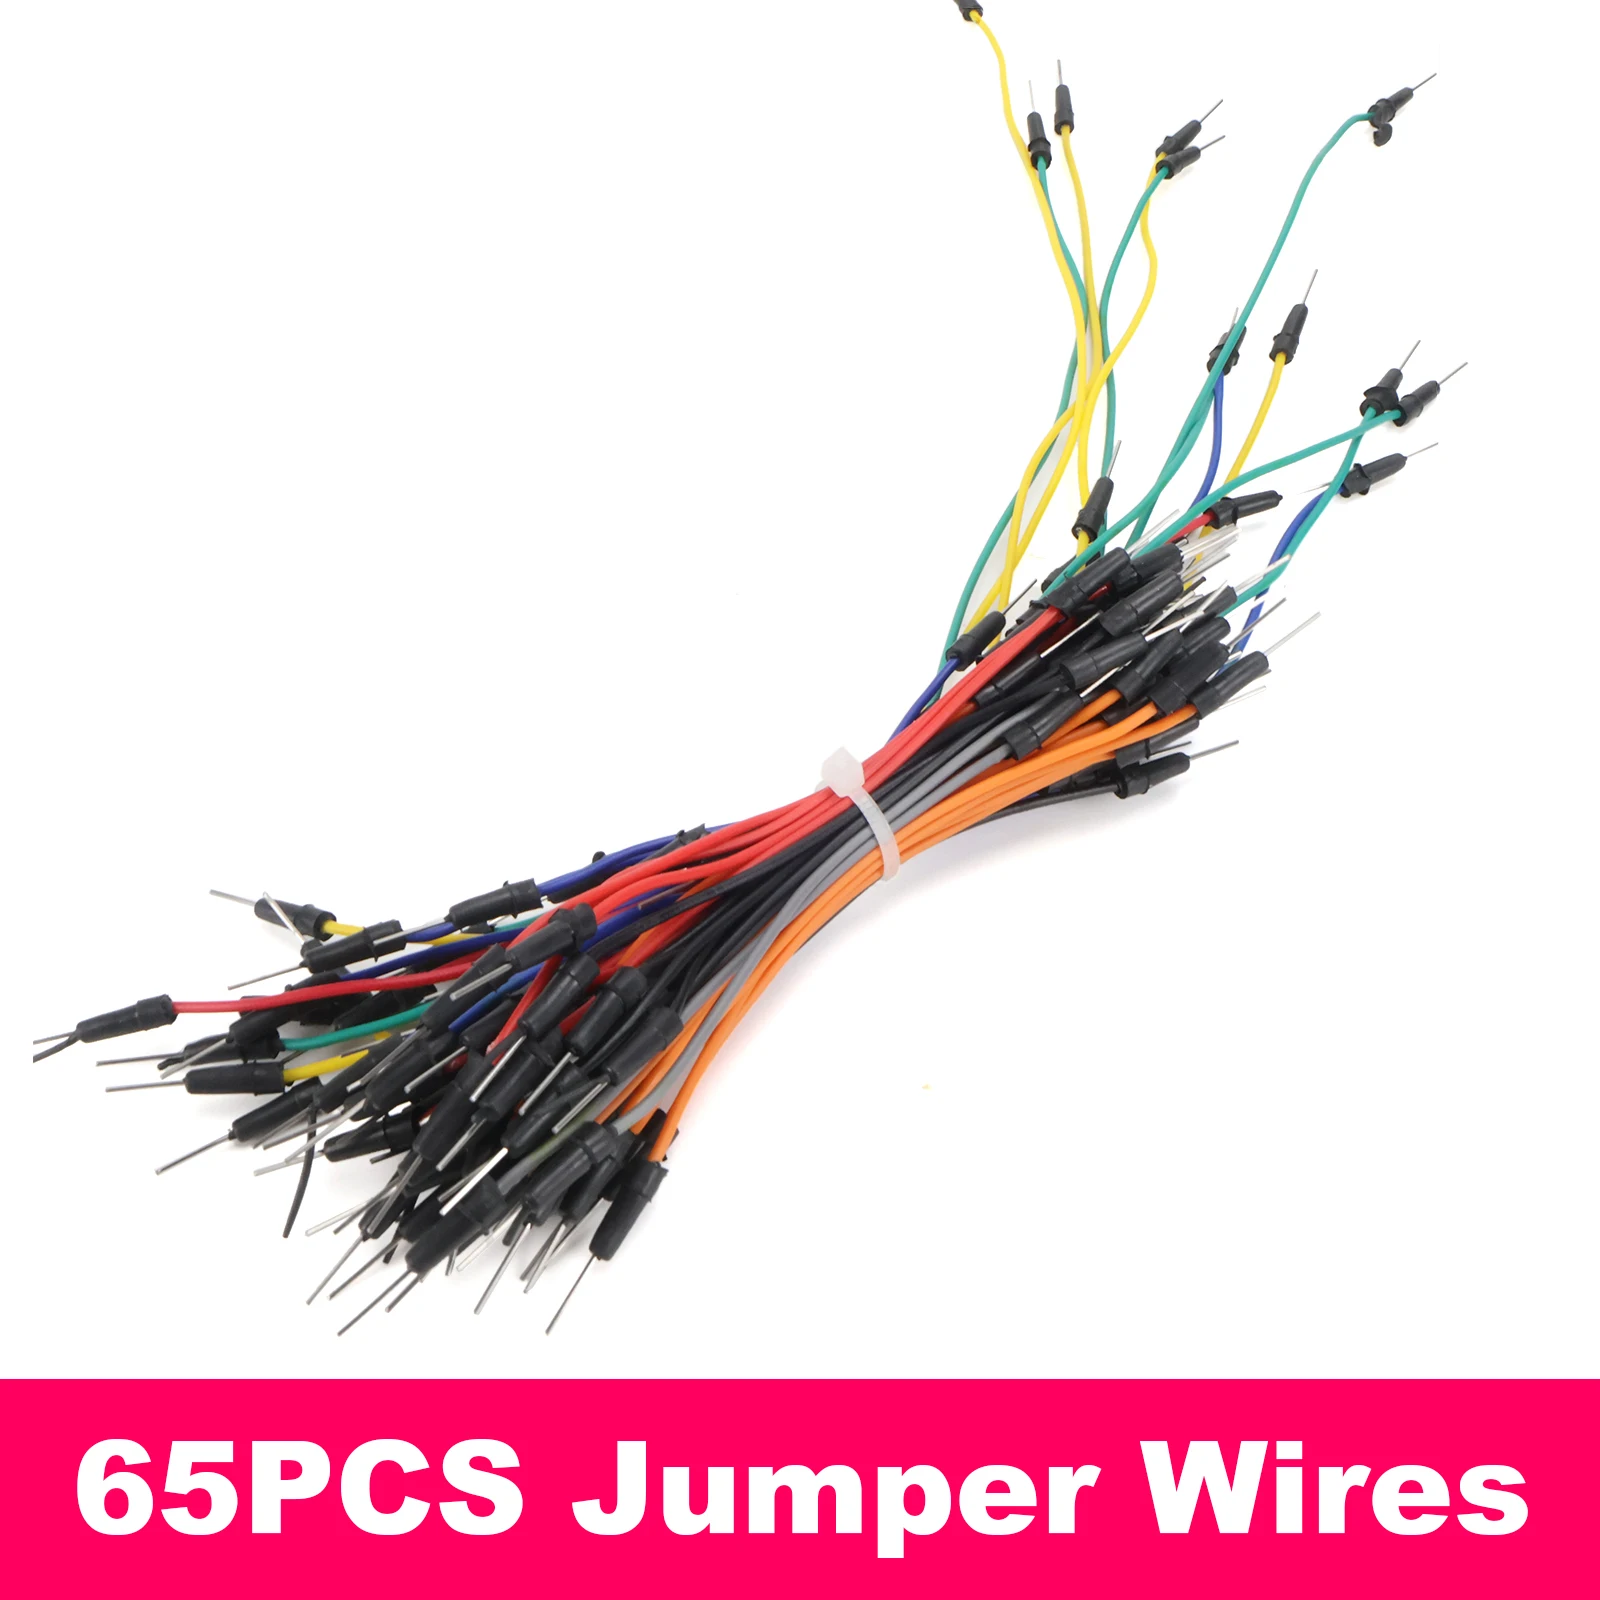
🔹65PCS Male-to-Male Jumper Wires (11-24cm mixed lengths): Connect components and modules easily.
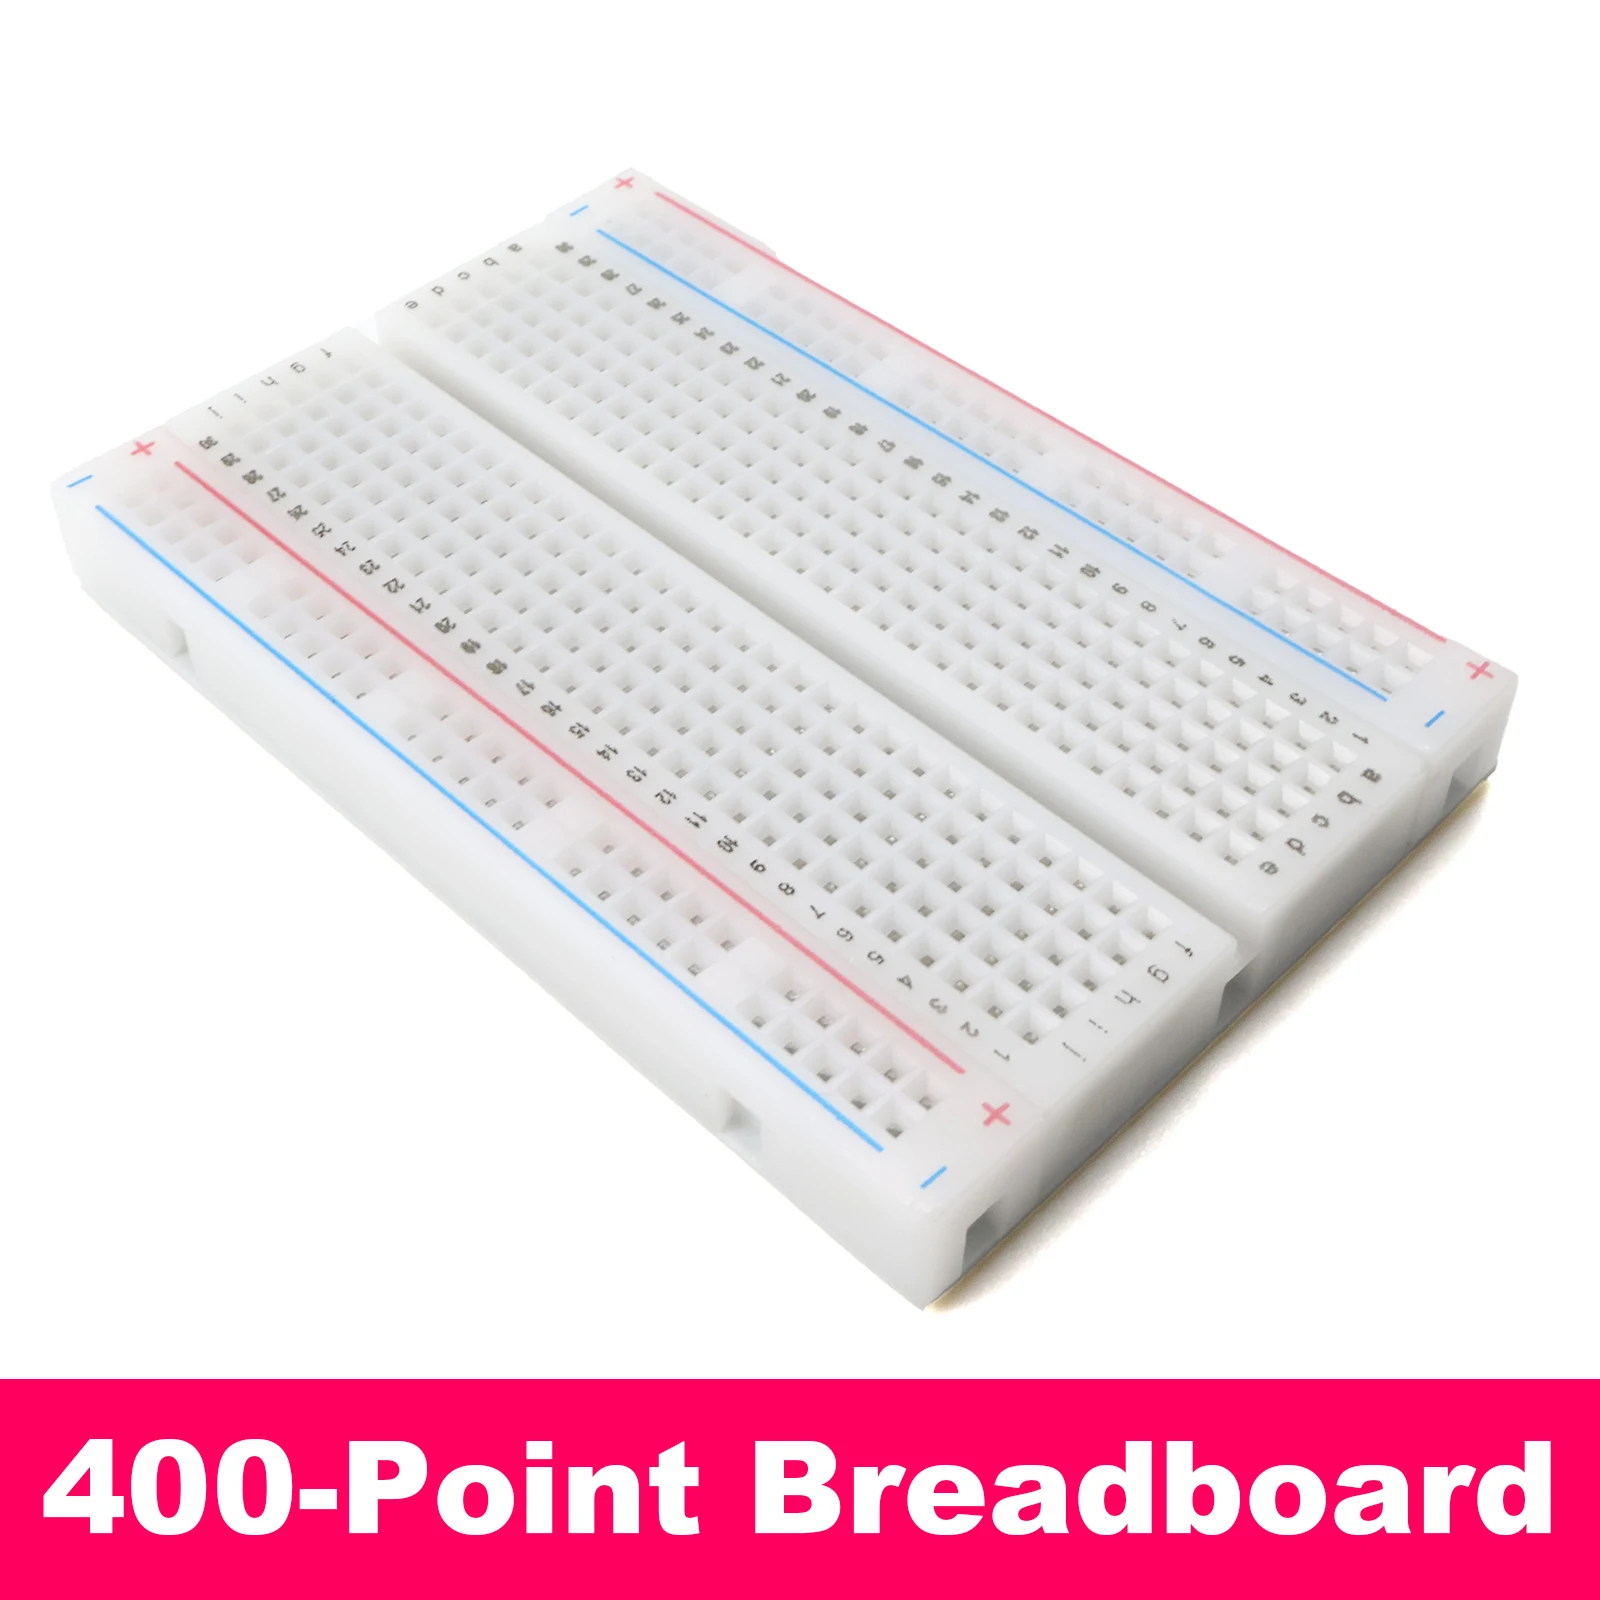
🔹400-Point Mini Breadboard (8.5×5.5cm): Compact and portable, ideal for small projects.
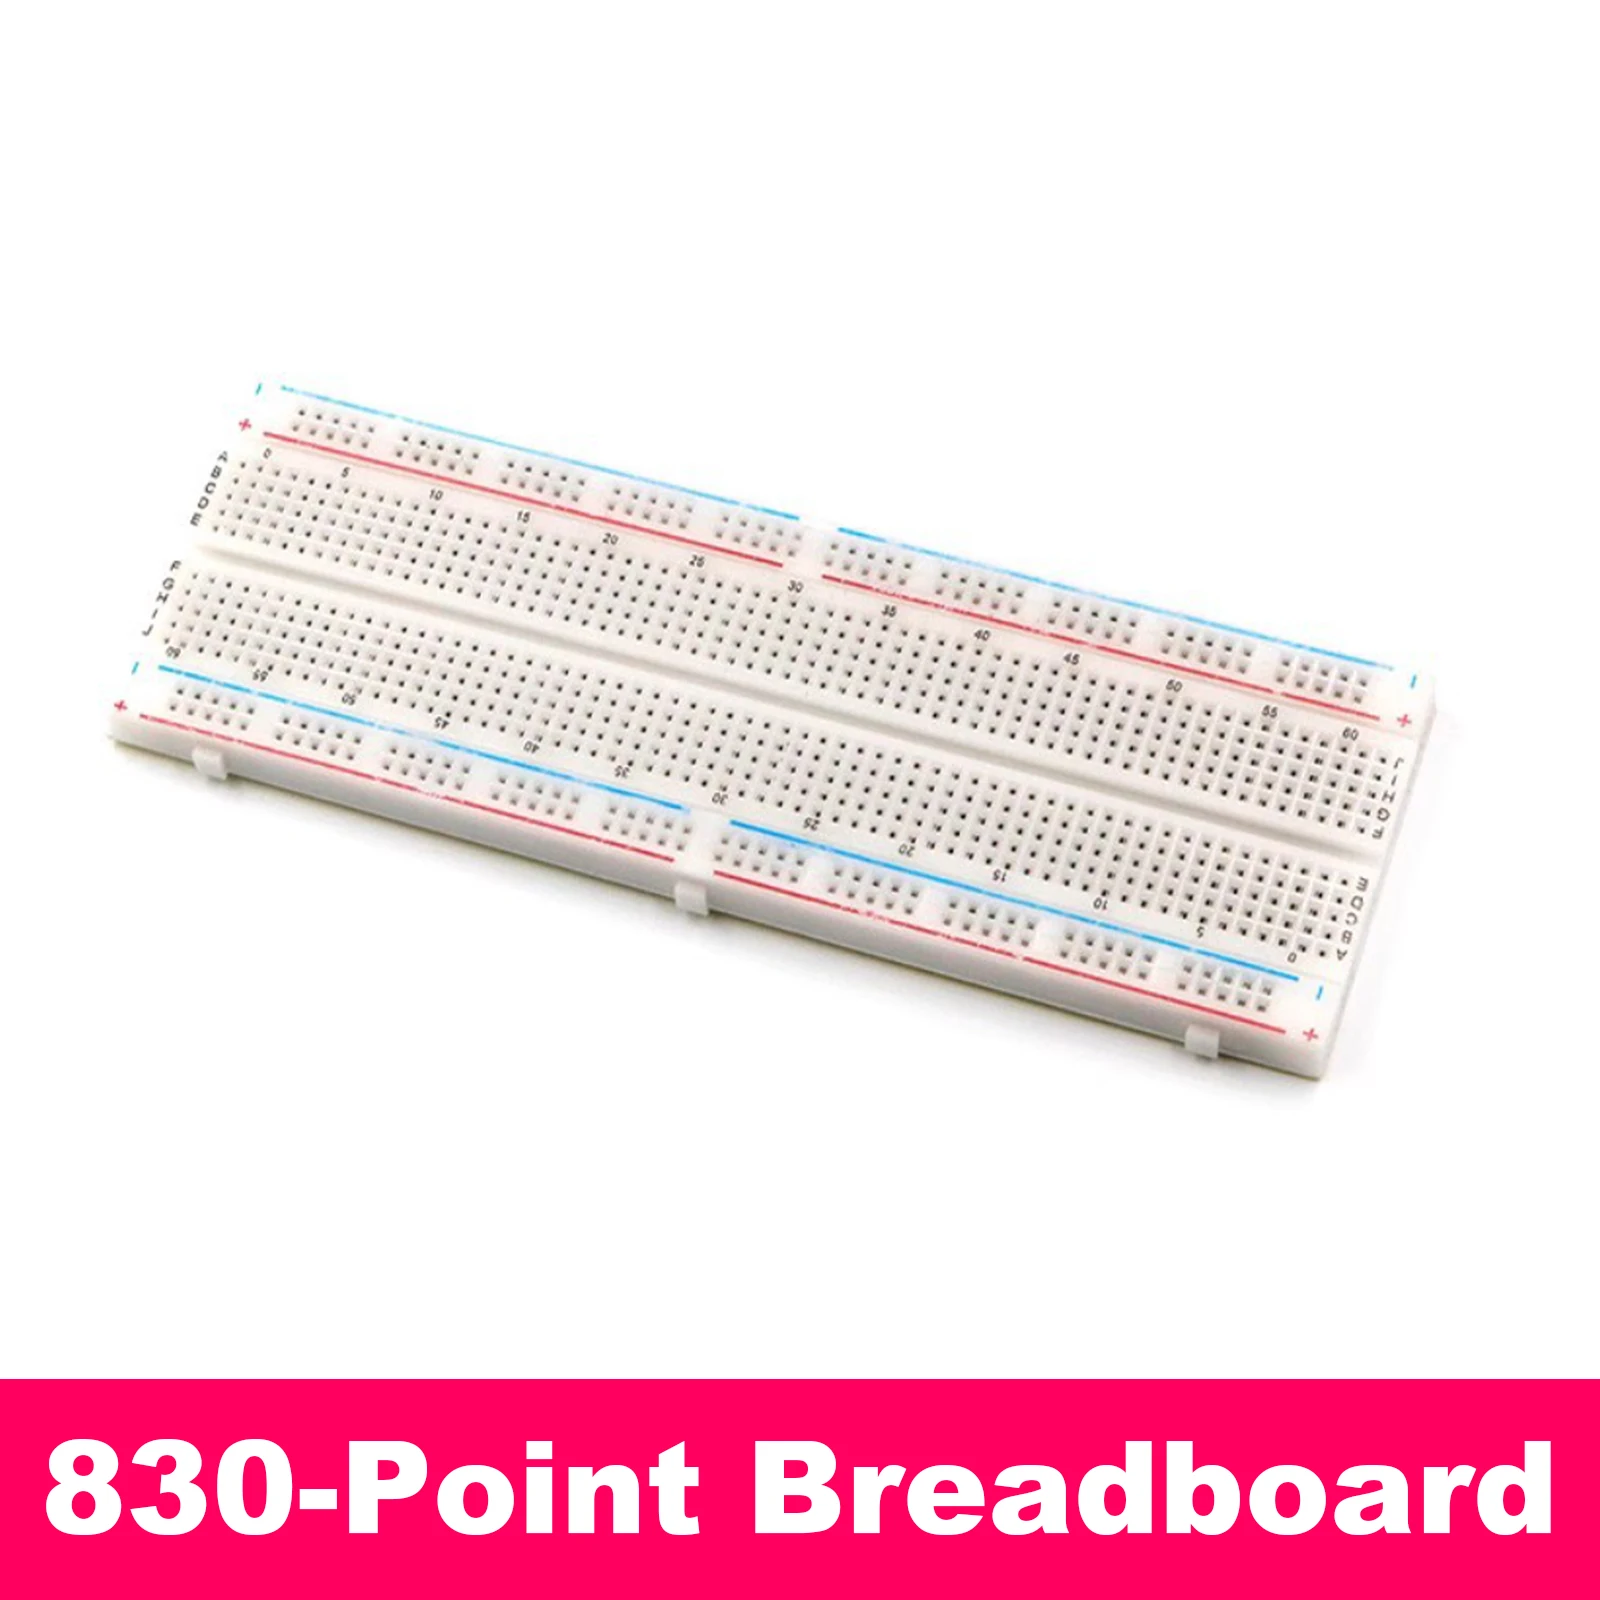
🔹830-Point Standard Breadboard (16.5×5.5cm): MB-102 spec, can mount the power module directly.
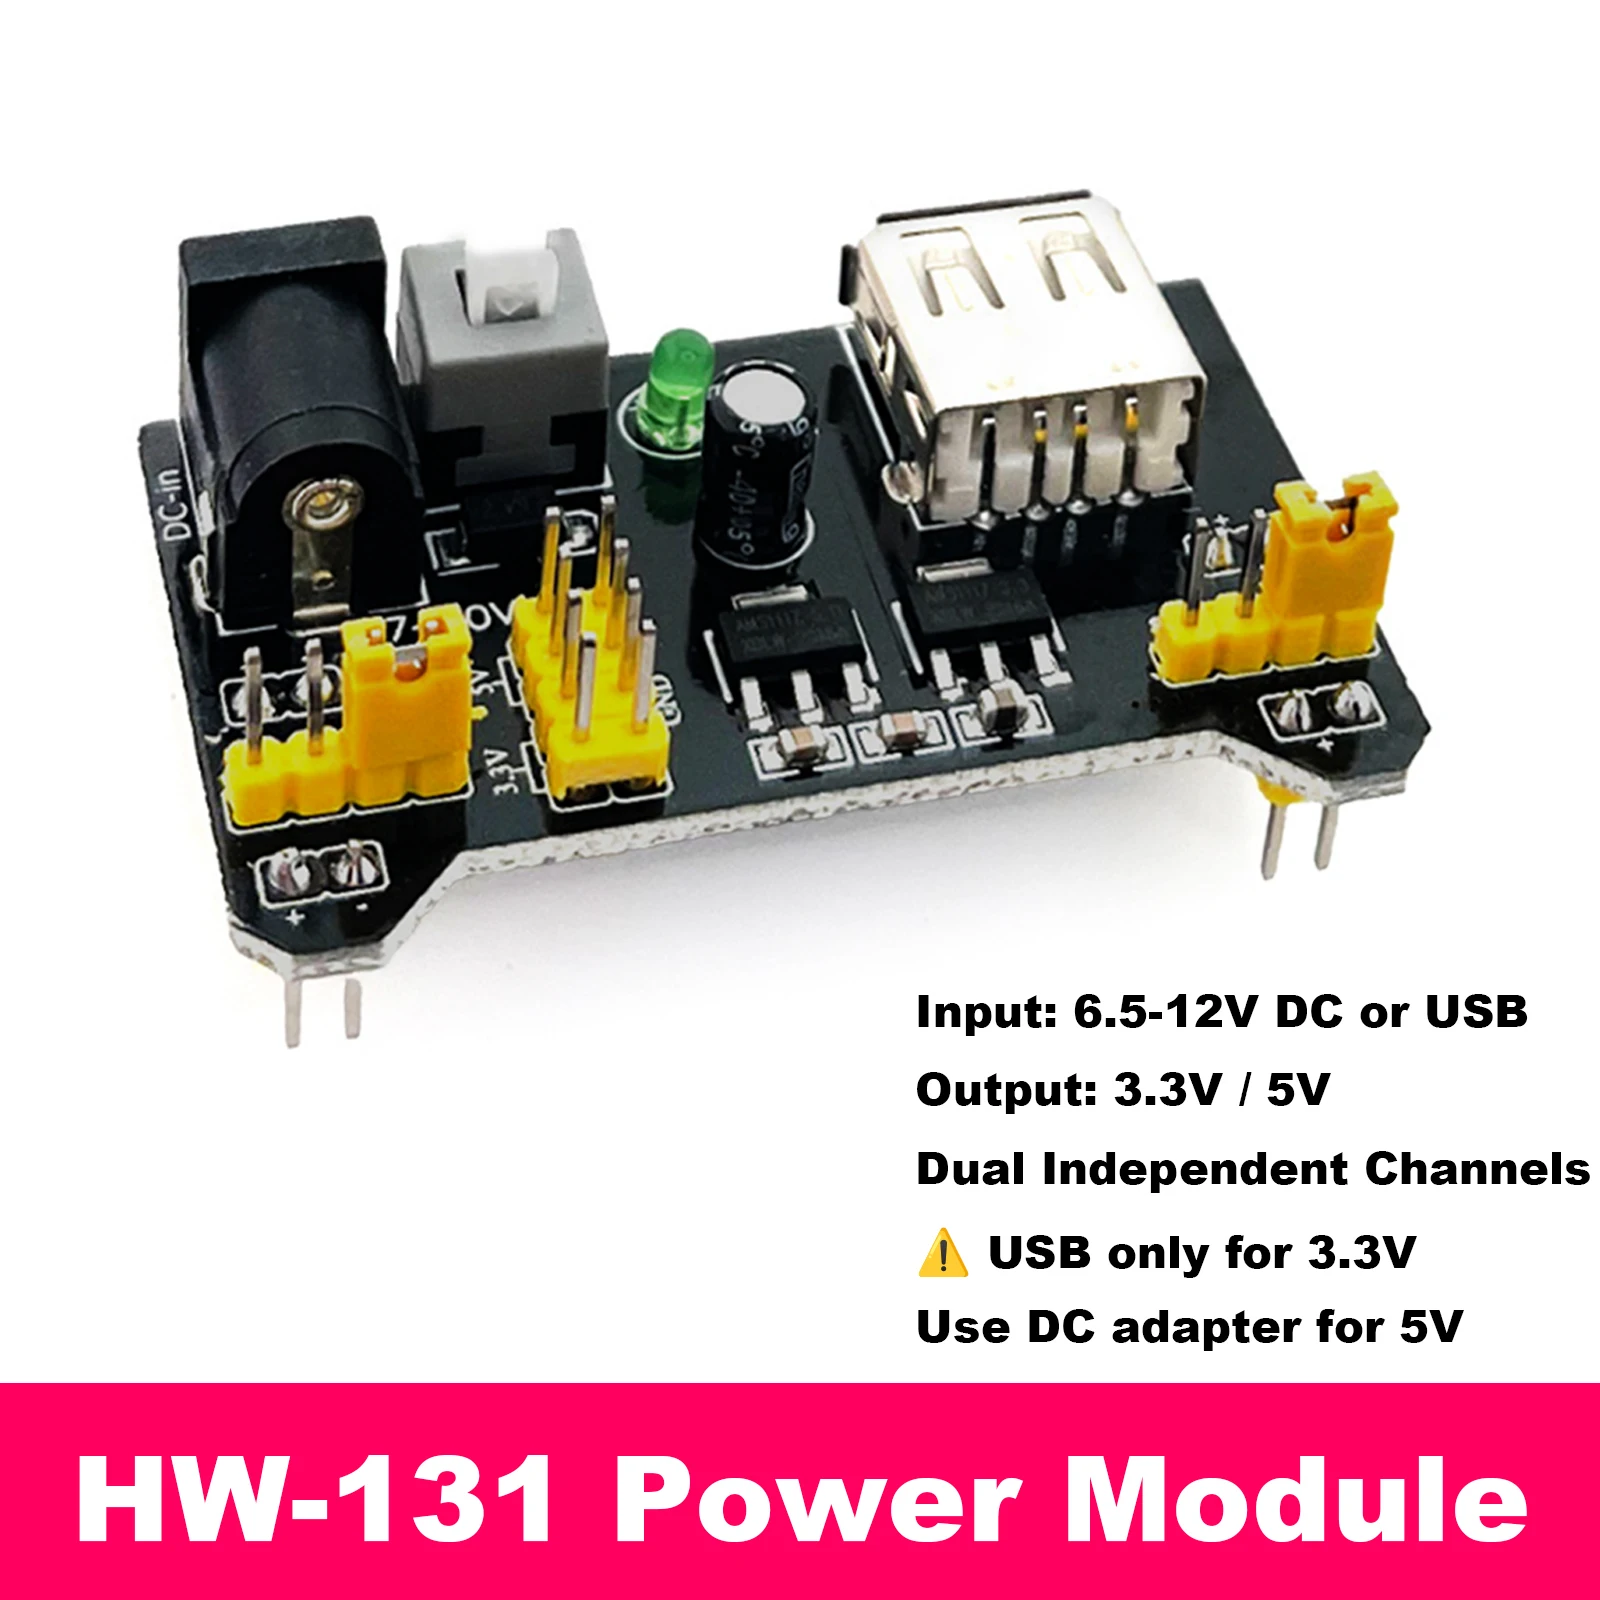
🔹HW-131 Power Module: 6.5-12V DC or USB input, switchable 3.3V/5V output, dual independent channels, with self-locking switch and indicator.
Whether you're learning microcontroller basics, prototyping circuits, or building smart car projects, this kit gets you started quickly. Breadboards have adhesive backing for mounting, wires are durable for repeated use, and the power module provides stable power for your experiments.
⚡ Quick Start Guide & Important Tips
🔹 What's Included & What You Need
✅ This kit includes:65 jumper wires, breadboard(s), HW-131 power module.
❌ This kit does NOT include:USB-to-DC cable, Arduino/ESP32 boards, electronic components (resistors, LEDs, etc.).
🔧 You will need:Arduino/ESP32 board, electronic components, USB cable or 6.5-12V DC adapter (for power module).
💡 New to electronics? Pair this with an Arduino starter kit for a complete learning experience.
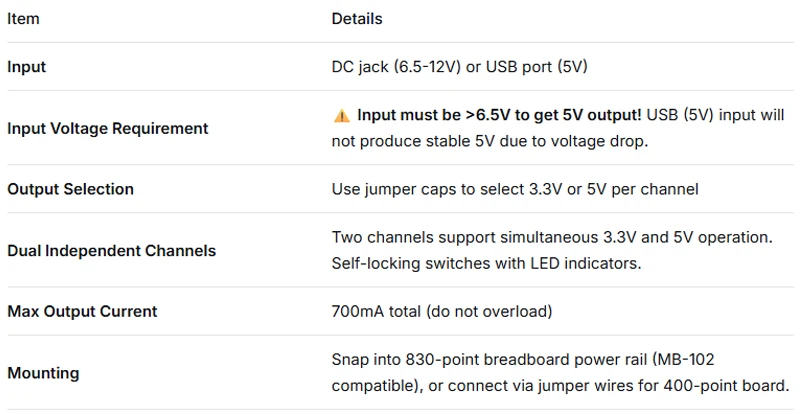
🔹 HW-131 Power Module Instructions (Important!)
⚠️ Common Mistakes to Avoid:
🔹Do not use a 5V adapter on the DC jack – the module won't output 5V
🔹If you only need 3.3V, the 5V output will also provide stable 3.3V
🔹For loads near 700mA, ensure adequate cooling and stable power supply
🔹Do not exceed input voltage range (6.5-12V) to avoid damaging the regulator
🔹 Breadboard Usage Guide
1. Connection Rules:Metal clips connect horizontally in groups of 5. Red/blue lines indicate power rails:
🔹Red: Positive (+)
🔹Blue: Negative (-)
2. Mounting:Adhesive backing allows you to stick the board to a surface.
3. Expansion:Multiple boards can be snapped together via side connectors.
4. Wire Gauge:Compatible with AWG 20-29 (our jumper wires work perfectly).
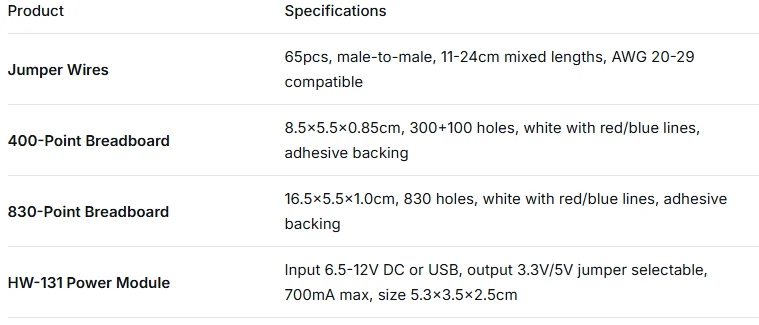
🔹 Specifications
🔹 Common Questions
❓ 400-point vs 830-point breadboard – which to choose?
🔹400-point: Compact, great for small projects and sensor testing.
🔹830-point: More space for complex circuits, can mount the power module directly.
🔹Choose based on your project size, or combine multiple boards.
❓ Why doesn't the HW-131 power module work with just USB?
The regulator requires about 1.5V higher input than output. USB provides 5V, which is not enough for stable 5V output. Use a 6.5-12V DC adapter, or use only the 3.3V output (the 5V output will also provide 3.3V).
❓ Does the power module snap into the breadboard?
Yes, it fits perfectly into the 830-point (MB-102) breadboard power rail. For the 400-point board, you'll need jumper wires to connect it.
❓ Are the jumper wires male-to-male or female-to-female?
This kit includes male-to-male jumper wires (pins on both ends), ideal for breadboard and Arduino pin connections.
❓ Can breadboards be reused?
Yes. The metal spring clips are durable for thousands of insertions, perfect for repeated prototyping.
❓ Is there packaging included?
This kit comes in simple packaging. Single items are not individually bagged; combo kits are packed together securely for shipping.
❓ Can both output channels be used at different voltages simultaneously?
Yes. The HW-131 module has two independent output channels. You can set one to 3.3V and the other to 5V using the jumper caps, powering different components at the same time.